Thursday, May 21, 2015

I spent some time running the wiring harness for the overhead stuff through the
"A" posts and secured all that. This completes the wiring I had to re route so with all that in place I started on my headliner.


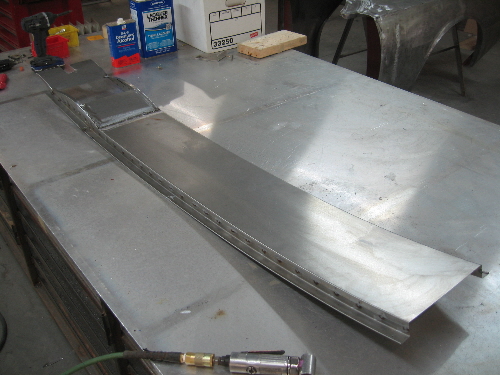
I kicked around how I was going to do the head liner and decided to make it in 3 pieces. I built a center over head console to house the map light assembly. The real reason for this center console is that it is a bit lower than the ceiling to the left and the right. This gives me an device to attach the left and right halves.
I thought about different materials but went with some .021 sheet metal as this is light and will allow me to get the shapes I want.


After I fit the upper console in the car I removed it to finish weld and add some pieces to the sides that will create a slot for the left and right ceiling panels to fit into. The material I used to make the edges is some Trex decking material . It mills easy and I used a router to ease the edges. Once it is covered it will have a rounded edge look.
With the console back up in place I started building the inner roof perimeter shaping it as I went. The job is complicated by the fact that I have to keep getting in and out of the car to fit the pieces up. This would be a lot more fun if I had the car upside down on a rotisserie.


Sunday, May 10, 2015

I finally got all of the fabrication work done to the front fenders. I had to scrap the fender scoops that I had made after looking at some better pictures I hadn't got the shape quite right. I made and fitted the right side on the car. I removed both fenders to finish out the fabrication in the back side. I then lined them up side by side so that I could build the left side to match as close as possible to the right.
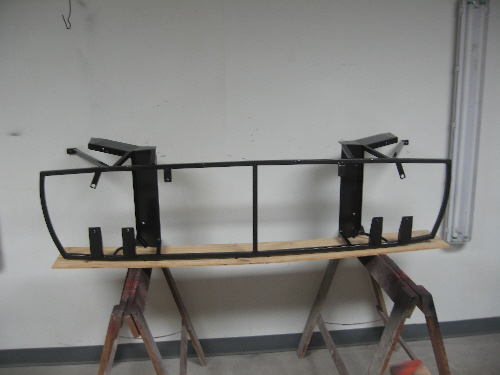
I removed the fender / nose front brace to finish up welding it and cleaning it up so that I could paint it.
I still have to fit everything back to finish some fab work on the nose. For now though I have hopped back into the car to try to build the head liner next. We will see how that goes.


Sunday, May 3, 2015

I haven't posted in a while because what I am doing might look like I am going backwards but it is a lot of little details that needs to be finished up.
I have the left front fender about 80% complete as far as the fab work and I jumped over to the right side to get it caught up and it is now pretty much done as far as fabrication. I had to add some metal to the back edge of the fender to true up the fender to door gap.  I finished shaping the fender scoop and welded it to the top of the fender. I cut a hole in the top of the fender not for aero or tire clearance but so that I can more completely paint the under side since it is not removable. With the inner fender tubs this is sealed up anyway so they are strictly for show here.
The third picture here is  the attachment I had to work out on the bottom of the fender to the rocker. I counter sunk and welded two !/4 20 flange nuts into the rocker and then added some slotted tabs to the fender so that I could adjust it in and out. Also in this picture you can see the outlines of where I lengthened the lower fender 2" and a patch I added to replace some rusty metal.
I could not get the fender gap on the right side as good as the left fender where it meets the hood so I had to compromise and add some metal to straighten out the gap.


Here are a couple of pictures of the right side fender off the car to show what it looks like after I added all of the stiffeners and attachment flanges.


The aluminum pan that ties in the fender nose and wheel tub had to be relieved  on the right side to allow clearance for the window washer fluid bottle to hang out of the bottom. I made a small cover to keep road debris from hitting it.


I also finished the support structure for the fenders and the nose although I still have to finish weld some areas after I remove it from the car. All of the tabs for the headlights are in place now and the curved ends to hold the fender front shape are in.